Going fullstack with Nx monorepo using C# and React
Introduction
Recently, I’ve been using the Nx monorepo framework quite extensively—but purely for frontend React projects. I’d always thought of Nx as a frontend-focused tool. Turns out, I was wrong (and about two years late to the party).
I recently came across a YouTube video - Nx + .NET with the nx-dotnet Plugin demonstrating first-class support for .NET applications inside an Nx workspace.
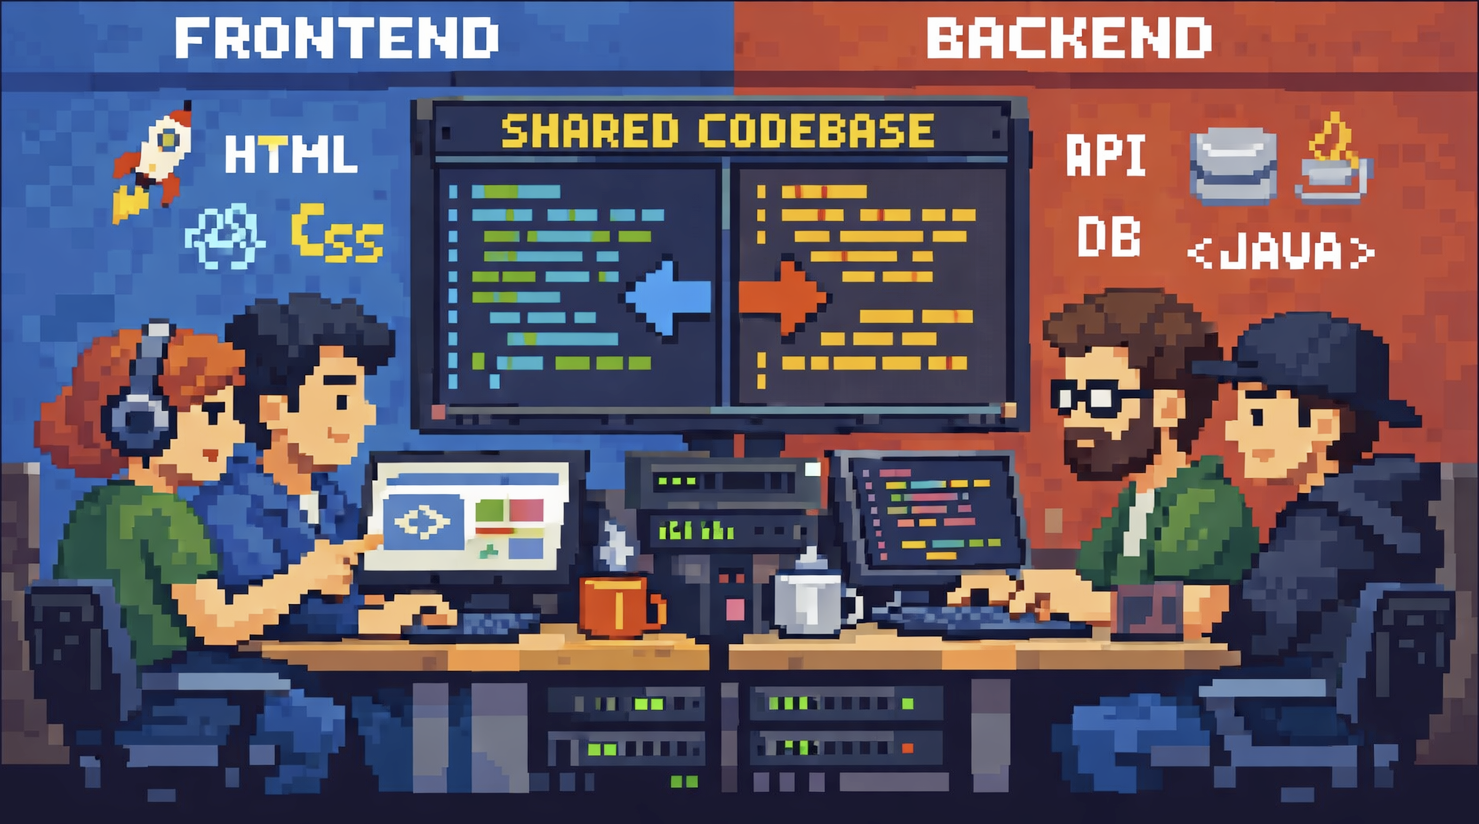
As a full-stack engineer, this genuinely blew my mind. For the first time, it feels possible to build a full-stack architecture that actively prevents one of the most common pain points in web development: broken contracts between frontend and backend. With Nx, API contracts can live in shared libraries with clear ownership, rather than being duplicated, manually synced, or quietly drifting out of alignment.
In this article, I’ll explore what a basic full-stack architecture looks like using Nx, React, and C#, and share what the developer experience is actually like in practice.
The basic setup
Nx works on the basic principle of two main folders: apps and libs. For this application, we'll be using the following folder structure:
apps/
web/→ Next.js frontend applicationapi/→ ASP.NET Core Web APIworker/→ .NET background worker (e.g. WebJob, more to show fullstackyness)
libs/
ui/→ Shared React UI componentsdomain/→ Shared domain logic- Must be framework-agnostic
- Must not reference ASP.NET Core, React, or Next.js
contracts/→ Shared API contracts (DTOs / request & response models)api-client/→ Generated TypeScript client from OpenAPI
Step 1 - Create a mono repo
Let's start by creating an empty Nx workspace. Note: this assumes you've already set up Nx, Node, .NET, and npm locally.
1mkdir fullstack-demo
2cd fullstack-demo
3npx create-nx-workspace@latest fullstack-demo --preset=npm --nxCloud=skip --interactive=false
Next, create the apps/ and libs/ folders, then we'll install our Nx dependencies. In my case ive gone for React however Nx supports quite a large array of languages and frameworks.
1cd fullstack-demo
2mkdir -p apps libs
3
4# Install Nx dependencies for front end
5npm install -D @nx/react
6npm install -D @nx/next
7
8# Create the Next.js application and UI component library
9npx nx g @nx/next:app web --directory=apps/web --no-interactive
10npx nx g @nx/react:lib ui --directory=libs/ui --bundler=none --unitTestRunner=none --no-interactive
With the front end done, we can now create the backend projects:
1# Create .NET projects manually
2cd apps
3dotnet new webapi -n api -f net8.0
4// Mostly to show you we can host other apps in here, but you can skip this if you just want the API and Next.js frontend
5dotnet new worker -n worker -f net8.0
6cd ..
Why not use Nx generators for .NET?
You might wonder why we're using manual dotnet commands instead of the @nx-dotnet/core plugin. While Nx does have a .NET plugin, I encountered compatibility issues with the current version of Nx (v22.5.0+). The plugin depends on internal Nx modules that have been refactored or removed in recent versions, causing generation to fail.
By creating .NET projects manually and integrating them through custom project.json files, we get the same benefits:
- Full Nx integration (build, serve, test commands)
- Dependency graph visualization
- Affected command support
- Task caching
This approach is actually more flexible and keeps you in control of the .NET tooling, while still getting all the Nx monorepo benefits. So we don't really loose much aside from a simpler command to generate a new project. But I guess most people will be accustomed to the dotnet commands anyway.
Once the projects are created we can then create a project.json file for each .NET project to integrate Nx commands with dotnet CLI. The project.json file holds the projects configuration, it also allows Nx to map commands to dotnet which you will see later in the article, as well as control things like project dependencies.
1{
2  "name": "@fullstack-demo/api",
3  "$schema": "../../node_modules/nx/schemas/project-schema.json",
4  "projectType": "application",
5  "sourceRoot": "apps/api",
6  "tags": ["type:app", "platform:dotnet", "scope:backend"],
7  "targets": {
8    "build": {
9      "executor": "nx:run-commands",
10      "options": {
11        "command": "dotnet build",
12        "cwd": "apps/api"
13      }
14    },
15    "serve": {
16      "executor": "nx:run-commands",
17      "options": {
18        "command": "dotnet run",
19        "cwd": "apps/api"
20      }
21    },
22    "test": {
23      "executor": "nx:run-commands",
24      "options": {
25        "command": "dotnet test",
26        "cwd": "apps/api"
27      }
28    },
29    "clean": {
30      "executor": "nx:run-commands",
31      "options": {
32        "command": "dotnet clean",
33        "cwd": "apps/api"
34      }
35    }
36  }
37}
With this configuration, we can now run these commands through Nx nx run @fullstack-demo/api:build! It all connects up and triggers your standard dotnet build.
Now let's generate all the shared libraries:
1npx nx g @nx/js:lib domain --directory=libs/domain --bundler=none --unitTestRunner=none --no-interactive
2npx nx g @nx/js:lib api-client --directory=libs/api-client --bundler=none --unitTestRunner=none --no-interactive
Once complete we should have this basic structure

Backend API Implementation
Now that we got a basic app setup let's add Swashbuckle to enable OpenAPI/Swagger documentation. These steps are no different from any other dotnet api project and can be skipped if your familiar with it.
1cd apps/api && dotnet add package Swashbuckle.AspNetCoreAlso ensure you add these lines to Program.cs:
1builder.Services.AddControllers();
2builder.Services.AddSwaggerGen();
3
4// ... later in the file
5app.MapControllers();
Create a basic items model in Models/Item.cs,
1namespace Api.Models;
2
3public class Item
4{
5    public string Id { get; set; } = string.Empty;
6    public string Name { get; set; } = string.Empty;
7    public string Description { get; set; } = string.Empty;
8    public DateTime CreatedAt { get; set; }
9}
10
11public class ItemsResponse
12{
13    public List<Item> Items { get; set; } = new();
14    public int Total { get; set; }
15}
Now let's create a basic controller to handle the requests in Controllers/ItemsController.cs,
1using Api.Models;
2using Microsoft.AspNetCore.Mvc;
3
4namespace Api.Controllers;
5
6[ApiController]
7[Route("api/[controller]")]
8public class ItemsController : ControllerBase
9{
10    /// <summary>
11    /// Get all items
12    /// </summary>
13    /// <returns>A list of items</returns>
14    [HttpGet]
15    [ProducesResponseType(typeof(ItemsResponse), StatusCodes.Status200OK)]
16    public ActionResult<ItemsResponse> GetItems()
17    {
18        var items = new List<Item>
19        {
20            new Item
21            {
22                Id = "1",
23                Name = "Item 1",
24                Description = "First sample item",
25                CreatedAt = DateTime.UtcNow.AddDays(-2)
26            },
27            new Item
28            {
29                Id = "2",
30                Name = "Item 2",
31                Description = "Second sample item",
32                CreatedAt = DateTime.UtcNow.AddDays(-1)
33            },
34            new Item
35            {
36                Id = "3",
37                Name = "Item 3",
38                Description = "Third sample item",
39                CreatedAt = DateTime.UtcNow
40            }
41        };
42
43        var response = new ItemsResponse
44        {
45            Items = items,
46            Total = items.Count
47        };
48
49        return Ok(response);
50    }
51}
52
Don't forget to wire up the controllers in Program.cs:
1builder.Services.AddControllers();
2// ... later in the file
3app.MapControllers();
You can now test the API by spinning it up in Nx
1nx run @fullstack-demo/api:serveGetting generated types
We'll use openapi-typescript to generate a type-safe TypeScript interfaces directly from your API's OpenAPI json definition. This ensures your frontend stays in sync with backend changes.
1npm install -D openapi-typescriptGenerate a script file in scripts/generate-openapi.sh, this script is going to be responsible for,
- Running the dotnet API
- Download the open API json generated based on controller actions
- Place the file into the API clients directory, the file can then be used to generate types with.
1#!/bin/bash
2set -e
3
4SCRIPT_DIR="$(cd "$(dirname "${BASH_SOURCE[0]}")" && pwd)"
5PROJECT_ROOT="$(cd "$SCRIPT_DIR/.." && pwd)"
6
7cd "$PROJECT_ROOT"
8
9echo "Building API..."
10cd apps/api
11dotnet build --nologo -v q
12
13echo "Starting API..."
14ASPNETCORE_ENVIRONMENT=Development dotnet run --no-launch-profile --urls "http://localhost:5000" > /dev/null 2>&1 &
15API_PID=$!
16
17echo "Waiting for API to start (PID: $API_PID)..."
18sleep 8
19
20echo "Downloading OpenAPI spec..."
21curl -s http://localhost:5000/swagger/v1/swagger.json -o ../../libs/api-client/openapi.json
22
23echo "Stopping API..."
24kill $API_PID 2>/dev/null || true
25
26echo "OpenAPI spec generated successfully at libs/api-client/openapi.json"
Once the script is created we can add it to the project.json in the API project. Create a new target to run the script and begin generation. This allows us to execute a command like nx run @fullstack-demo/api:openapi:generate to run the step. However as Nx allows you to create dependencies in projects we are not going to run this command explicitly.
1"openapi:generate": {
2  "executor": "nx:run-commands",
3  "options": {
4    "command": "bash scripts/generate-openapi.sh"
5  },
6  "outputs": ["{workspaceRoot}/libs/api-client/openapi.json"]
7}
We can also now update the api-client/project.json file to convert the openapi.json file into TypeScript types. Note how this command has a dependency on the previous command we created.
1"generate": {
2  "executor": "nx:run-commands",
3  "options": {
4    "command": "npx openapi-typescript libs/api-client/openapi.json -o libs/api-client/src/generated/schema.ts"
5  },
6  "dependsOn": ["@fullstack-demo/api:openapi:generate"],
7  "inputs": ["{projectRoot}/openapi.json"],
8  "outputs": ["{projectRoot}/src/generated"]
9}
Now, with a single Nx command, we can generate TypeScript types from our C# models:
1nx run @fullstack-demo/api-client:generateIntegrate front end and backend
Now we can create a Next.js page that fetches data from our backend API. This part of the article just just to demonstrate the complete solution. First step create a basic page apps/web/src/app/items/page.tsx, and with this we can use Nx imports to reference the api-client project
1import { apiClient, type Item } from '@fullstack-demo/api-client';
2
3export default async function ItemsPage() {
4  const data = await apiClient.getItems();
5
6  return (
7    <div style={{ padding: '2rem' }}>
8      <h1>Items from API</h1>
9      <p>Total: {data.total}</p>
10
11      <ul>
12        {data.items?.map((item: Item) => (
13          <li key={item.id} style={{ marginBottom: '1rem' }}>
14            <h3>{item.name}</h3>
15            <p>{item.description}</p>
16            <small>
17              {item.createdAt ? new Date(item.createdAt).toLocaleDateString() : 'N/A'}
18            </small>
19          </li>
20        ))}
21      </ul>
22    </div>
23  );
24}
Running the app
Once everything is set up, you can run both the frontend and backend using the following Nx commands,
1# Terminal 1 - Start the backend API
2nx run @fullstack-demo/api:serve
3
4# Terminal 2 - Start the frontend
5nx run @fullstack-demo/web:dev
Conclusion
Using Nx to manage a monorepo with .NET and React is a promising combination — the tooling brings solid cross-stack project organisation, making it easier to house both frontend and backend in one workspace. That said, Nx introduces extra complexity that teams will need to invest time in understanding. As the ecosystem matures, improvements to Nx's generators should help streamline the developer experience further.
Beyond structure and shared contracts, one of the biggest long-term advantages of this setup is how Nx’s affected graph and caching dramatically optimise your workflow. As your monorepo grows, Nx intelligently determines exactly which projects are impacted by a change and only rebuilds or retests those — whether that’s the React frontend, the ASP.NET Core API, or shared domain libraries. Combined with local and remote caching, this significantly reduces CI times, lowers infrastructure costs, and improves developer feedback loops. In a mixed React + .NET environment, this dependency awareness prevents unnecessary rebuilds while still guaranteeing correctness, making the architecture not just scalable in code organisation, but scalable in build performance as well.
Would I use it for a full stack project? I think the answer would be a yes!
Comments